
Cross Back Apron Pattern: Free PDF Guide
Discover delightful‚ free cross back apron patterns in PDF format! Explore options from Hey June‚ Purl Soho‚ Japanese Sewing Books‚ and SewGuide for easy crafting.
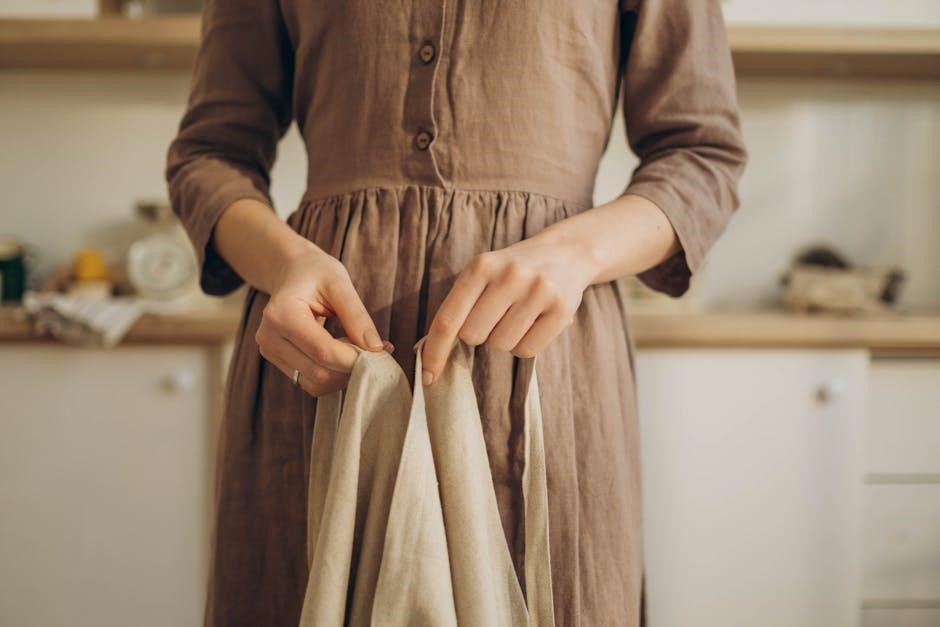
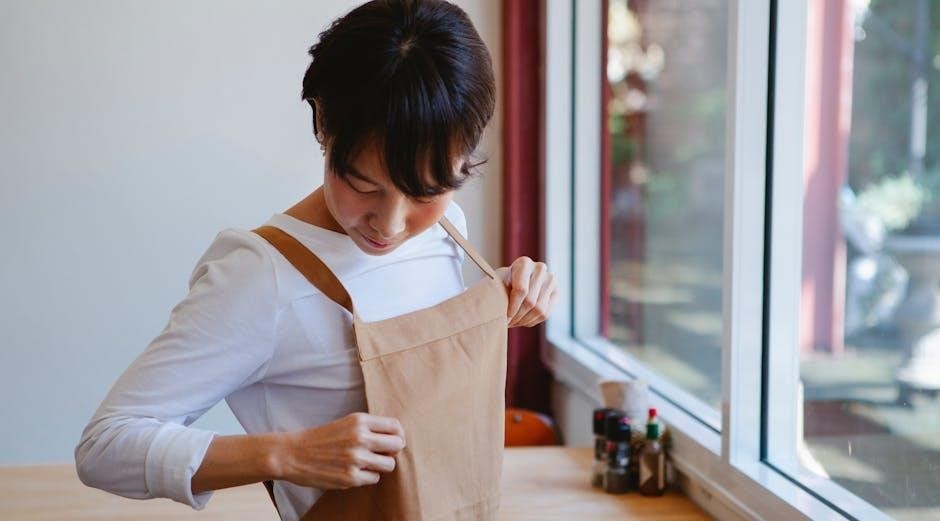
Cross back aprons represent a stylish and practical evolution in apron design‚ offering a comfortable alternative to traditional tied-waist styles. These aprons feature straps that cross in the back‚ distributing weight more evenly across the shoulders and eliminating pressure on the waist. This design is particularly appealing for extended wear during cooking‚ gardening‚ or crafting.
The growing popularity stems from their convenience – no more fumbling with ties! Many free PDF patterns are available online‚ catering to various skill levels. From Japanese-inspired designs prioritizing simplicity and functionality to more detailed patterns with pockets and embellishments‚ there’s a cross back apron to suit every taste. They’ve gained traction through online sewing communities and tutorials‚ making them accessible to a wider audience.
History and Popularity of the Design
The cross back apron’s origins are deeply rooted in Japanese garment construction‚ emphasizing practicality and comfort. Traditional Japanese workwear often featured similar strap designs to distribute weight effectively. This style gained international recognition through Japanese sewing books and tutorials‚ becoming increasingly popular in the West around the early 2010s.
Online forums like Quiltingboard and Reddit’s r/sewing demonstrate a growing interest‚ with users sharing patterns and experiences. The design’s resurgence is linked to a broader trend towards functional and aesthetically pleasing handmade items. Free PDF patterns‚ readily available from sources like Hey June and Purl Soho‚ have fueled its popularity‚ allowing sewists to easily recreate this timeless design.
Benefits of a Cross Back Apron
Cross back aprons offer superior comfort and functionality compared to traditional tied-waist styles. The crossed straps distribute weight evenly across the shoulders‚ reducing neck strain – ideal for extended wear during cooking‚ gardening‚ or crafting. The absence of waist ties eliminates potential discomfort and interference with movement.
Furthermore‚ this design provides a secure and adjustable fit for various body types. Many free PDF patterns‚ like those from SewGuide‚ emphasize a no-tie construction‚ making them exceptionally convenient. The style’s inherent simplicity lends itself well to customization‚ allowing sewists to personalize their aprons with pockets or embellishments. It’s a practical and stylish choice!
Free Patterns Available Online
Numerous websites offer free cross back apron patterns in PDF format! Explore Hey June‚ Purl Soho‚ Japanese Sewing Books‚ and SewGuide for inspiration.
Hey June’s Allspice Apron Pattern
Hey June offers a fantastic‚ free Allspice Apron pattern‚ readily available as a PDF download. This pattern is a popular choice for those seeking a comfortable and stylish cross back apron. It’s designed for ease of use‚ with options to print the pattern as individual pieces of paper for taping‚ or as a large-format file for professional printing.
The Allspice Apron pattern is known for its clear instructions and well-drafted pieces‚ making it suitable for beginner to intermediate sewers. Many online resources and tutorials complement the pattern‚ providing additional guidance and support. The Lettuce Craft Forums specifically highlight this pattern as a great starting point for creating a Japanese-style cross-over back apron. It’s a versatile pattern allowing for fabric customization and personal touches.
Purl Soho Crossback Apron ─ Free Pattern
Purl Soho provides a complimentary Crossback Apron pattern‚ a highly sought-after design for its practicality and aesthetic appeal. This free PDF pattern is remarkably similar in style to the full-body aprons popularized by chefs like Sohla El-Waylly‚ offering excellent coverage and a secure fit.
Sewers appreciate Purl Soho’s clear instructions and the pattern’s successful track record‚ as confirmed by positive feedback on Reddit’s r/sewing community. Many have successfully created this apron‚ noting its comfortable cross-back strap design. The pattern is well-suited for intermediate sewers‚ though confident beginners can also tackle it. It’s a fantastic option for those desiring a durable and stylish apron without incurring pattern costs.
Japanese Sewing Books Cross Back Apron Tutorial
Japanese Sewing Books offers a free tutorial and pattern for a cross back apron‚ suitable for both adults and children. This resource‚ highlighted on Quiltingboard Forums as a solution for a “stringless” apron‚ provides a detailed guide to creating a no-tie pinafore style apron.
The tutorial includes patterns and a helpful sewing video‚ making it accessible for various skill levels. It’s part of a “Back to School” sewing series‚ demonstrating its practicality for everyday use. This pattern is particularly appealing for those seeking a convenient and easy-to-wear apron design‚ eliminating the need for tying and untying.
SewGuide: Easy Japanese Style Cross Back Apron
SewGuide presents a free DIY pattern and tutorial for crafting an easy‚ Japanese-style cross back apron. This design focuses on convenience‚ featuring a no-tie construction for effortless wear. The pinafore-style apron utilizes cross back straps‚ eliminating the need for traditional ties‚ making it quick to put on and take off.
The tutorial is designed for simplicity‚ making it ideal for beginner sewers. SewGuide’s resource provides clear instructions and visual guidance‚ ensuring a successful project. This pattern is a fantastic option for those wanting a stylish and functional apron with a unique‚ Japanese-inspired aesthetic.

Understanding Apron Pattern Pieces
Successfully sewing requires identifying front and back apron pieces‚ plus understanding strap construction and length variations within your chosen cross back apron pattern.
Identifying Front Apron Pieces
The front apron pieces typically form the main body covering your torso. These pieces often include a curved or straight top edge designed to sit comfortably around your neck and shoulders‚ depending on the specific pattern’s style. Carefully examine your PDF pattern; front pieces are usually mirrored‚ meaning you’ll have a left and right side to ensure a symmetrical fit.
Look for markings indicating the placement of pockets‚ if your chosen pattern includes them. Some patterns may have a single‚ large front piece‚ while others divide it into sections for a more tailored shape. Pay close attention to grainlines indicated on the pattern – aligning fabric correctly is crucial for how the apron will drape and wear. Identifying these pieces accurately is the first step towards a beautifully constructed cross back apron!
Back Apron Pieces: Key Differences
The back apron pieces are what truly define the “cross back” style. Unlike traditional aprons‚ these patterns feature separate pieces that create the distinctive criss-cross straps. Expect to find two main back pieces‚ often shaped to comfortably fit over your shoulders and back. These pieces will likely have curves or angles designed for optimal strap placement and a secure fit.
Key differences lie in strap construction. Some patterns provide individual strap pieces to be attached‚ while others integrate the straps directly into the back panel. Carefully note any markings for strap attachment points. Pattern instructions will detail how these pieces intersect and create the crossed effect. Accurate cutting and alignment of these back pieces are vital for achieving the apron’s signature look and comfortable wear.
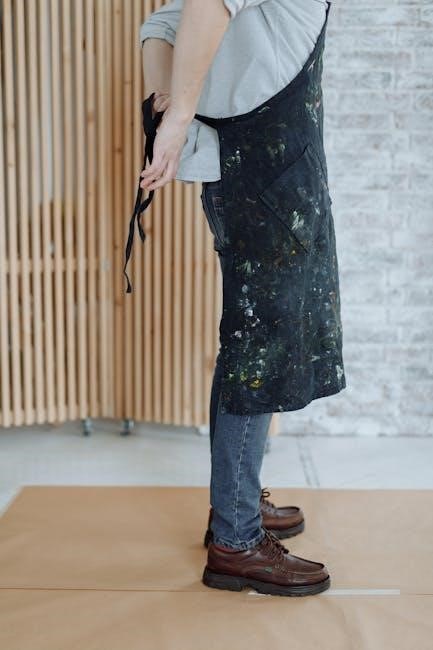
Strap Construction and Length
Strap construction varies significantly between cross back apron patterns. Some utilize pre-made straps or require you to create them from separate fabric pieces‚ often incorporating interfacing for added stability. Pay close attention to the pattern’s instructions regarding strap width and finishing techniques – consider rolled hems or bias tape for a professional look.
Determining the correct strap length is crucial for a comfortable fit. Patterns often provide a base length‚ but adjustments may be necessary based on your body size and desired apron height. Consider your torso length and preferred strap placement when making alterations. Longer straps create a lower back‚ while shorter straps offer more support. Accurate measurement and careful adjustment will ensure a secure and comfortable cross-back apron!

Materials Needed for Sewing

Essential supplies include fabric (cotton‚ linen)‚ thread‚ scissors‚ a sewing machine‚ and a measuring tape. Buttons are optional for certain designs!
Fabric Choices: Cotton‚ Linen‚ and More
Selecting the right fabric is crucial for your cross back apron project. Cotton is a popular choice due to its affordability‚ breathability‚ and ease of care‚ making it ideal for everyday use. Linen offers a beautiful drape and a more textured look‚ though it wrinkles easily.

Consider denim for a durable and sturdy apron‚ perfect for heavier tasks. Lightweight fabrics like voile or chambray are suitable for warmer climates or a more delicate aesthetic. When choosing‚ think about the apron’s intended use – a heavier fabric for messy tasks‚ a lighter one for cooking or crafting.
Pre-washing your fabric is recommended to prevent shrinkage after sewing. Don’t be afraid to mix and match fabrics for a unique and personalized apron!
Notions: Thread‚ Buttons (Optional)
Beyond fabric‚ a few essential notions will complete your cross back apron. High-quality thread‚ matching your fabric color‚ is paramount for durable seams. Consider a slightly heavier weight thread for areas bearing stress‚ like strap attachments. Buttons are optional‚ primarily for decorative purposes or adjustable straps – though many patterns utilize tie closures.
You might also need bias tape to finish raw edges‚ providing a clean and professional look. Snaps or hook-and-eye closures can offer alternative fastening options. Don’t forget seam rippers for inevitable mistakes!
Having extra bobbins pre-wound will streamline the sewing process. A good iron and ironing board are also vital for pressing seams as you go.
Tools: Sewing Machine‚ Scissors‚ Measuring Tape
Essential tools are key to successfully crafting your cross back apron. A reliable sewing machine‚ capable of straight and zigzag stitches‚ is fundamental. Sharp fabric scissors are crucial for accurate cutting – rotary cutters and mats are excellent alternatives. A measuring tape ensures precise measurements‚ vital for pattern adjustments and strap lengths.
Marking tools‚ like tailor’s chalk or a fabric marker‚ help transfer pattern pieces onto fabric. Pins secure layers during cutting and sewing. A seam gauge aids in maintaining consistent seam allowances. An iron and ironing board are indispensable for pressing seams for a professional finish.
Consider a seam ripper for correcting errors!
Sewing Techniques for Beginners
Master basic skills for apron success! Learn accurate fabric cutting‚ consistent seam allowances‚ and secure strap attachment for a beautifully crafted cross back apron.
Cutting Fabric Accurately
Precision is key when beginning your cross back apron project! Accurate fabric cutting ensures a well-fitting and professional-looking final product. Begin by carefully laying out your chosen pattern pieces onto the fabric‚ paying close attention to the grainline. Use sharp fabric scissors or a rotary cutter with a cutting mat for clean‚ precise cuts.
Double-check all measurements against the pattern before cutting‚ and consider using pattern weights to hold the pieces in place. For beginners‚ cutting slightly outside the line is preferable‚ allowing for minor adjustments. Remember to accurately transfer any markings‚ like dart points or buttonhole placements‚ onto the fabric. A consistent cutting approach will dramatically improve your sewing experience and the overall quality of your apron.
Seam Allowances and Finishing
Consistent seam allowances are crucial for a professional finish on your cross back apron. Most patterns utilize a 1/2 inch (1.3cm) seam allowance‚ but always verify this within your chosen PDF pattern instructions. Accurate sewing along these lines ensures pieces fit together correctly.
To prevent fraying‚ finish raw edges using a serger‚ zigzag stitch‚ or pinking shears. Consider French seams for a clean‚ durable interior finish‚ especially for frequently washed aprons. Press seams open or to one side as you sew‚ following pattern guidelines. Proper seam finishing not only enhances the apron’s appearance but also extends its lifespan‚ making it a cherished handmade item.
Attaching Straps Securely
Securely attaching the straps is vital for a comfortable and durable cross back apron. Reinforce the strap attachment points with multiple rows of stitching‚ especially where the straps connect to the apron body. Consider using a square or rectangle of fusible interfacing on the wrong side of the fabric at these points for added stability.
Backstitching at the beginning and end of each seam is essential. For heavier fabrics‚ bar tacks can provide extra reinforcement. Ensure straps are positioned correctly for optimal fit and comfort before final attachment. Properly secured straps will distribute weight evenly‚ preventing strain and ensuring a long-lasting‚ well-loved apron.

Customization Options
Personalize your apron! Add functional pockets‚ adjust the length and width for a perfect fit‚ or embellish with embroidery and appliqué details.
Adding Pockets
Enhance functionality with thoughtfully placed pockets! Pockets are a fantastic customization for any cross back apron‚ offering convenient storage for tools like phones‚ pens‚ or even small kitchen gadgets. Consider the size and placement carefully – larger pockets are ideal for bulkier items‚ while smaller ones suit quick-access needs.
You can easily adapt existing pocket patterns from other sewing projects or create your own. Patch pockets‚ applied to the front of the apron‚ are a simple option for beginners. Inset pockets‚ requiring a bit more precision‚ offer a cleaner‚ more integrated look. Experiment with different fabrics for your pockets to add a contrasting detail and visual interest. Don’t be afraid to get creative with the shape and style of your pockets to truly personalize your apron!
Adjusting Length and Width
Personalize the fit for ultimate comfort! Modifying the length and width of your cross back apron pattern is crucial for achieving a perfect fit. To adjust the length‚ simply add or subtract inches from the pattern pieces – remember to do this consistently for both the front and back sections.
For width adjustments‚ consider your body shape and desired coverage. Adding width to the sides provides more room‚ while reducing it creates a more streamlined silhouette. Always test the fit with a muslin or scrap fabric before cutting into your final material. Careful adjustments ensure your apron is both functional and flattering‚ making your sewing experience truly rewarding!
Embellishments: Embroidery‚ Appliqué

Elevate your apron with creative flair! Once your cross back apron is constructed‚ embellishments offer a fantastic way to showcase your personality. Embroidery‚ from delicate floral designs to bold geometric patterns‚ adds a touch of handcrafted charm. Appliqué‚ using contrasting fabrics‚ allows for playful motifs and personalized details.
Consider adding embroidered pockets‚ decorative stitching along the edges‚ or appliqué shapes reflecting your interests. These details transform a simple apron into a unique statement piece; Don’t be afraid to experiment with different techniques and colors to create a truly one-of-a-kind garment!